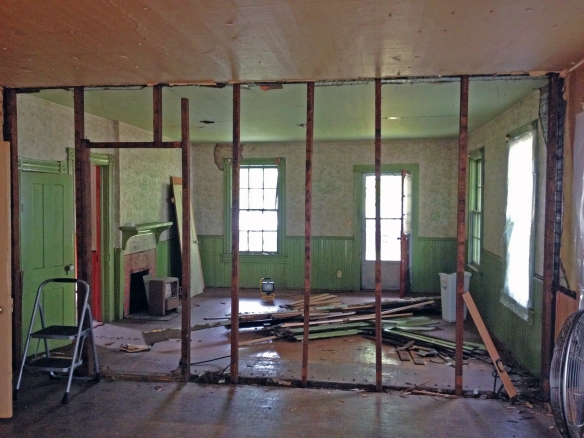
Do you guys remember one of the first projects Mom and I tackled? It was removing this guy.
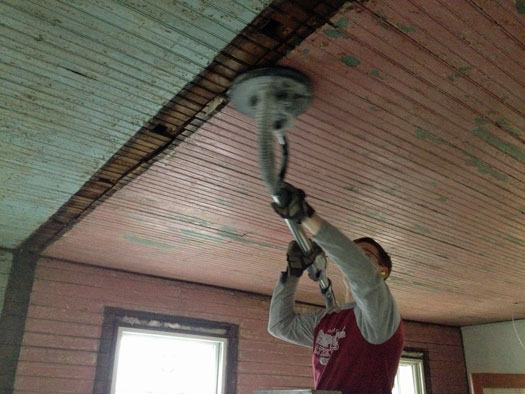
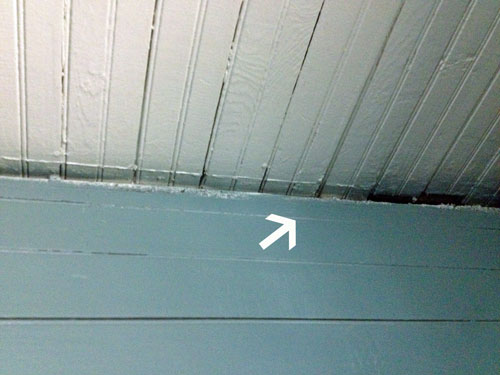
Is it just me or does this feel like yesterday and forever ago all at the same time? Crazy-town. Anyways, when we took the wall down we were left with a not so lovely gap and seam in the bead board ceiling. You can see it in the picture below.
Seam + gaps in ceiling where the studs used to be = NOT CUTE!
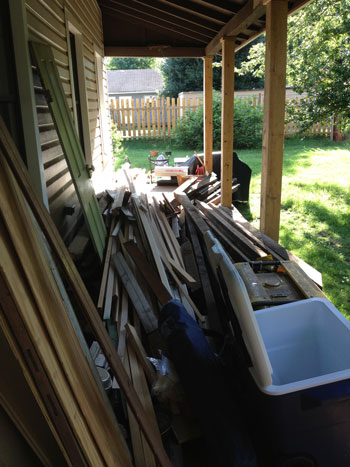
As you may have noticed from our house tour the other day, I kind of have a hoarding problem. Poor back porch never saw it coming.
HOARDER. Party of 1.
We have been holding on to old 2x4s (from the original walls) to use in the living room for a while, like over nine months. A few weeks ago, we FINALLY dug them out of our my giant must-save-all-the-things -pile and put them to use.
Originally, we were wanting to create a grid pattern with the old 2x4s, similar to coffered ceiling only more rustic. You can see an example here. We ended up changing our minds about the pattern mid process, but here is how we got started.
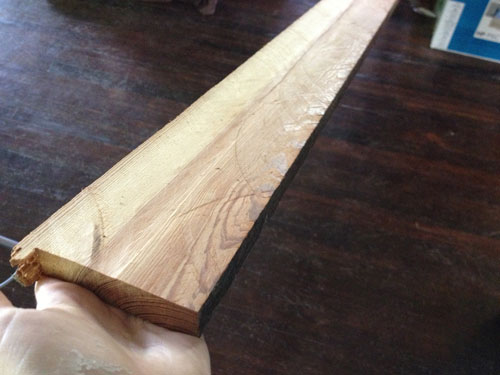
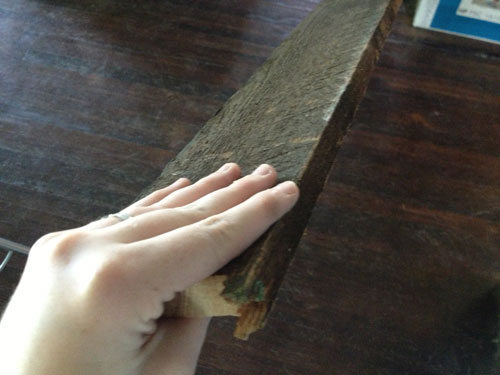
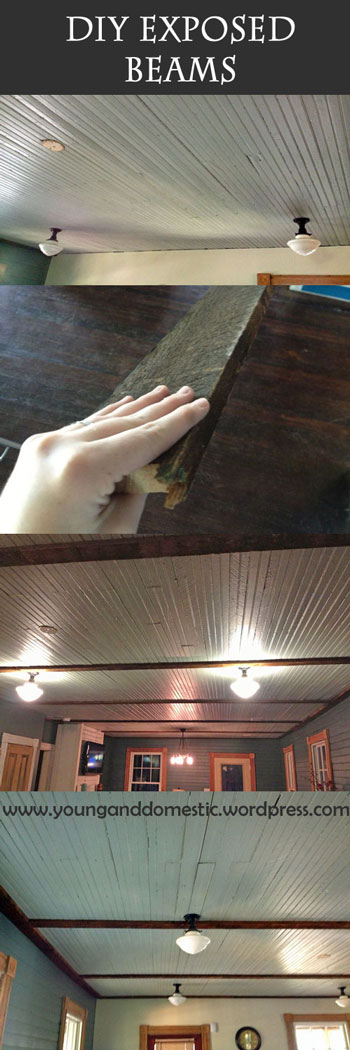
We started by ripping all of the 2x4s down in half so they became 1x4s. These pictures below probably make more sense. Here is the cut side (thank you table saw):
Here is the side we used as the “exposed beam.”
First, we figured out how much material we were going to need. Our living room and entry area is roughly 16′ x 32′ and most of the salvaged material was between 7 and 8 feet in length. With a little quick math, we figured out the perimeter of the room + 5 beams across = 176 feet. We started by cutting 11 boards in half, creating 22 pieces of “beam.”
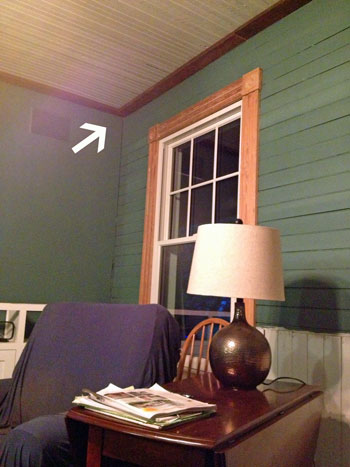
Then, Ryan and I started by working our way around the perimeter of the living room and entry area with the freshly cut pieces. Not only we were trying to cover up the seam between the two original rooms, but there were pretty significant gaps between the wall and ceiling in some areas as well.
The gap has been hidden by wallpaper for 40+ years I guess! Thankfully the 1 x 4 material covered all of those gaps. Hurray!! We worked our way around the room covering the gaps with the old (now 1×4) lumber. To secure the material to the bead board ceiling, we used a 16 gauge nail gun, securing it with a nail every three to four inches. If your ceiling is finished with drywall, I would encourage you to find a stud to secure the “beam” to. This is an easy two person task and the material isn’t heavy (always something to think about when hoisting it above your head). Easy DIY project!
Ladies, you can totally rock this project out!! No massive amount of muscle required 🙂
We did have to play with the material some. Seeing that the material we were using consisted of 100+ old 2x4s, some of them were just a LITTLE wonky (meaning it looked like the big dipper). With that said, we did have to do a little bit of finagling with the material, so some 180 degree turning and puzzle piecing of material had to take place, but over all the task was pretty easy. I would hold up one and and Ryan would hold up the other. If the 1×4 was flush with the wall, we would nail it in place and move on to the next piece, cutting lengths if need be.
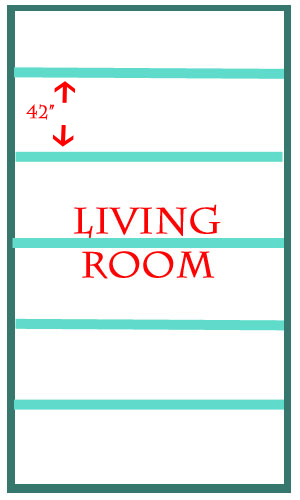
Once we completed the perimeter, we moved in to the perpendicular beams. We used the seam between the two rooms as the starting point for our measurements.
Boom! Seam and gaps covered. Yay!! With a little quick math, we were able to figure out the spacing for each beam. Thankfully each room was the same size. Whew! Be sure to measure, guys. You can never trust 100 year old houses. Ever. Trust me. I have learned this the hard way more than once, like 574 times.
We opted to to create three rectangles per room, with 42″ being our center mark for each beam.
Instead of trying to actually lay it out on the ceiling, we just kept the tape measure on the floor and eye balled it. The eye ball method worked just fine for us!
We worked our way from the front of room to the back. Overall, the project took about 3 to 4 hours, so it is an easy afternoon project if you are just working on one room.
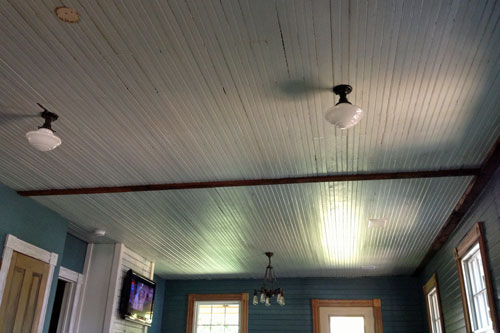
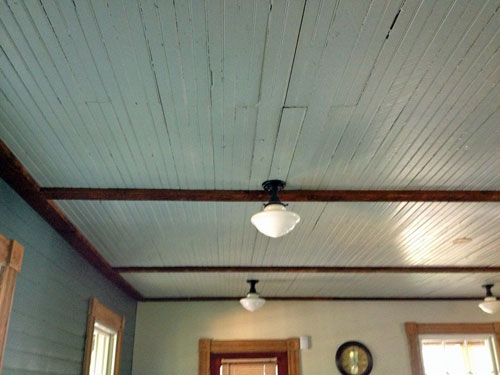
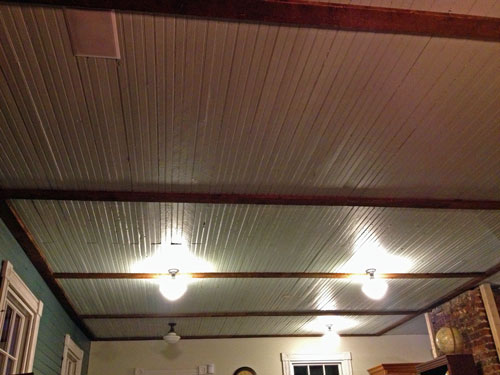
Once we finished all the beams in one direction, we decided to call it quiets just because we loved the look! We really love the way the ceiling turned out, both the bead board and the more rustic -almost-exposed-beams. I also like knowing that we re-used something original! Another big bonus is the fact this entire project was FREE! All of the material and supplies we already owned. Re-purposing for the win!
This look could easily be created using other old or new material. You could even stain new 2x4s to coordinate with your room. Maybe even just them painted white or a really fun color? I would love to hear your ideas, too! Ceilings are one of the places that are often over looked when designing space, but they add so much depth and texture to a room. Don’t ignore your ceilings! Consider this my brief Support Ceiling Rights campaign!! Ha. Ceilings deserve some love, too.
We are still trying to figure out what kind of ceiling treatment to do in the dining room. It is a little tricky trying to tie in dining room, kitchen and bottom of the staircase. Still on the planning deck with that one. We have some other ideas for our 2×4 lumber, so we’ll see what happens next!
What are you guys up to this weekend? Ryan and I have spent the morning working in the yard and getting our fall vegetable garden going. We are super excited about taking a stab at a garden! Enjoy your weekend 🙂
Brittney

Yall are doing a FANTASTIC job!! I really admire you two for taking on thiproject!! are you going to have a big open house when you finish??
susan Patterson
Hey Susan! Thanks for stopping by the blog and for the kind words! We are actually going to have one before we finish! Probably some time in September. Keep ya posted!
Hi,
I remember that wall. You have done so well. I am proud of you.
Good to see you this afternoon even if it was for a short time.
I am tired.
LOL, GrandMOM
Wow, I’m totally impressed! Exposed beams has always seemed like a pipe dream to me, but I can’t believe how easy and doable it really sounds. We have these great vaulted ceilings that I think exposed beams would look incredible on…now just to convince my husband! But it’s great that you had all that salvaged wood…I need to start a stockpile like that!
Glad you liked it! This project is VERY easy. A vaulted ceiling is a little trickier (we did this in our kitchen as well and it is vaulted) but still a DIY project. Good luck 🙂